Dell uses product identifiers such as Service Tag, Express Service Code, or Serial Number to access product information like technical specifications, documentation, warranty. Get personalized support options by identifying your Dell product using the Service Tag, Express Service Code, or Serial Number.
- Service Tag is a seven alphanumeric code.
- Express Service Code is a 10 to 11 digit, numeric version of a Service Tag.
NOTE: Dell accessories and devices such as keyboard, mouse, headset, external hard drive, do not have a Service Tag or Express Service Code. Identify these devices using the model number on Dell.com/support to access product documentation. Dell technical support can identify such products using the Dell order number. Learn how to find the Service Tag of a Dell monitor or Service Tag of a Dell docking station.
You are watching: Where To Find The Model Number On A Dell Laptop
Method 1: Using the Service Tag Label
On Dell laptops, the Service Tag or Express Service Code label is located on the bottom panel. Certain laptops such as the Dell XPS and Precision mobile workstations have a flap covering the label.
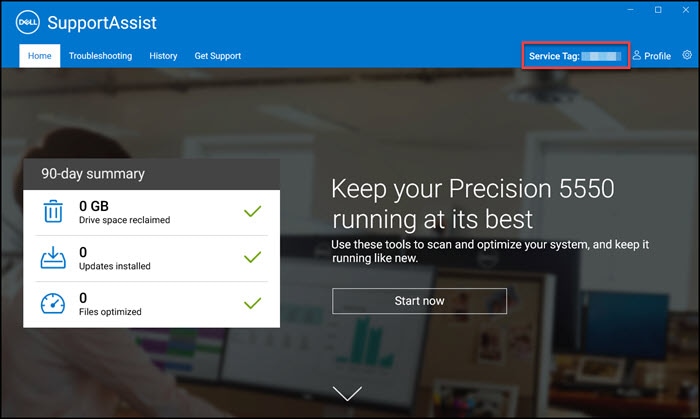
Method 2: Using SupportAssist app
See more : Can You Increase The Ram On A Laptop
On Windows devices, use the SupportAssist app to automatically scan your Dell computer and identify the Service Tag.
- Click Start.
- Search and open the SupportAssist app.
- The Service Tag is located at the top-right of the SupportAssist app.
Method 3: Using the BIOS interface
The Service Tag is available in the BIOS or UEFI of Dell computers.
- Turn on or restart the computer.
- At the Dell logo screen, press the F2 key several times to access the BIOS or UEFI interface.
- The Service Tag is available under the System Information or Overview section.NOTE: The BIOS or UEFI interface may vary on your Dell laptop. To learn how to navigate the BIOS, see the user manual of the Dell laptop.
Method 4: Using the Command Line
See more : Can A Usb Ad More Ram To My Laptop
The Service Tag can be identified by running a simple command-line instruction on laptops running Windows or Linux-based operating systems.
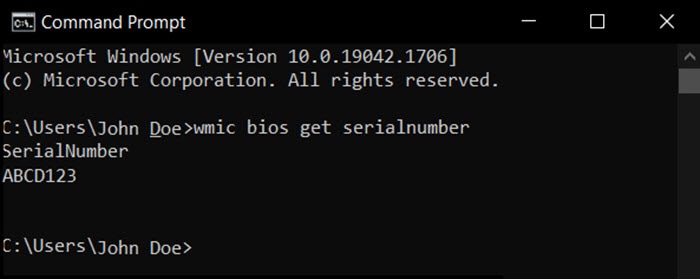
Finding the Service Tag using the Windows Command Prompt
- Click Start and search for command prompt or cmd.
- Open the Command Prompt app.
- To get the Service Tag, type wmic bios get serialnumber and press Enter.
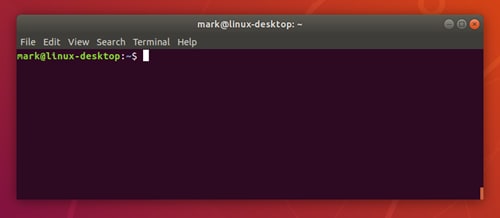
Finding the Service Tag using the Linux terminal
- Open terminal using the keyboard shortcut CTRL + ALT + T.
- To get the Service Tag, type sudo dmidecode -s system-serial-number and press Enter.NOTE: To run a sudo command, you must log in as a superuser or administrator. When prompted, enter the administrator password.
Video Resources
Source: https://tholansonnha.com
Category: laptop


